

Hello! I just wanted to share how easy-peasy it is to DIY a monogram. This isn't our final monogram yet, I just wanted to show you how I'll make one. Haha!
What you need:
1. A picture with your preferred border/background, for mine, I used this: 

2. Picasa
3. Font (I used Soymilk)
4. Inspiration :)
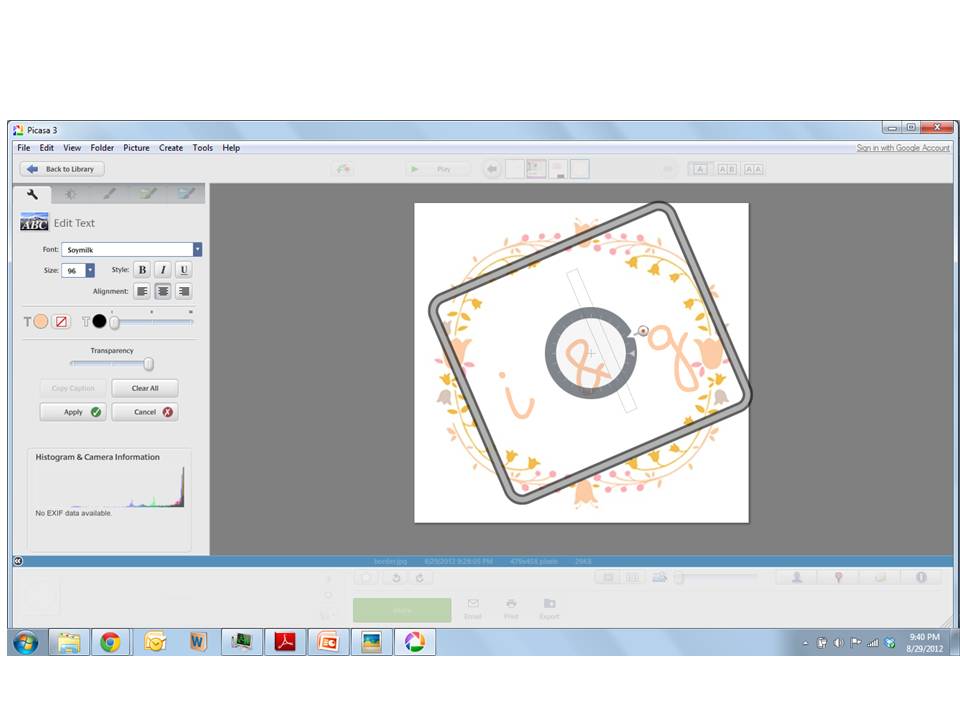
Step 1: Open the picture of your border using Picasa.


Step 2: Crop the picture if you want to (had to crop mine because of the white empty space at the top)

Step 3: Insert text.


Step 6. You can leave it at that (picture above). But I decided to add our wedding date as well by repeating steps 3, 4, 5. Press Ctrl + S and you're done!!! :)

Cute! :D
ReplyDelete